
The fact that you can use them over and over, use different colors each time and get different effects.
The fact that cute stamps can be pricey.. thats not so nice.
So a few years ago I got interested in making my own stamps. Especially after seeing the beautifull ones Geninne makes.
When I started I used small erasers. Benefit of that is that you don't need to mount them on something.
But last summer I took a workshop at Friday Next in Amsterdam. The workshop was given by Masaaki Oyamada. Those stamps where mounted on a pieces of wood. As it gives you a bit more freedom in your design. As you have more room. Making your own stamp is super easy!
So, today I'll show you how to make your own stamp.
First of all; gather your supplies.

* plain drawing paper
* a pencil
* tracing paper
* an exacto knife
* stamping ink ( I suggest using something that easily washes off ass you will get it on your hand)
* lino cutting tool
* soft cut lino (or other material you are going to carve your stamp from)
* a piece of wood; I use blocks from an old childrens building set
* a foling bone (or something similar)
* double sided foam tape
* a pair of scissors (not pictured)
Everything in the picture is from brands that are easily available in Holland. Google will help you find brands that are easily available to you.
Now that you have everything, time to start.
Step 1. The design

First trace the piece of wood you have chosen.
This way you won't end up with a stamp that doesn't fit onto your piece of wood.
Do that several times; that way you can play around with your design

Now; to use Masaaki's words: "draw until you are happy"
I wanted to make an arrow. I drew multiple ones ....

Step 2: Transferring your drawing onto the lino

Cut out a small pieces of tracing paper and trace your "best"design ..

Flip the tracing paper over, so the pencil-side lies on the lino, and rub the pencil lines onto the lino. This works best if you use something hard. I used a folding bone but you could use the back of your knife or somthing like that.
Because you filp the paper over this would also mean that, if your design uses words or letters, they are mirrored. Which is just what you want for a stamp..

Now you have your design on the lino
Step 3: the cutting

If I have a design with straight edges, like this arrow, I always score it with an exactoknife first. This makes the edges easier to carve. If you have a flowing design or a very steady hand this is optional

After scorin the pencil lines I take the small v-shaped blade and carve out the edges.
Because the lino is very soft, and the blade very sharp, you dont need to punt much pressure on it.'

You can see I carved around my pencil lines. Best is to follow the lines as closely as possible.

Then I switch over to a more rounded blade.

This carves bigger pieces. I keep tracing the lines around my design.

A bit more...

Almost there...

When you have removed about 0.5 cm around your design cut of the rest of the lino. You should keep a small edge around the actual design but more will only get in your way..

Now it's ime for a test-print.

as you can see, surrounding the arrow there are still a few small spots. You can leave them for a home-made look but I want them off so I will need to do some more carving.
The ink helps to show which parts are still to high.
This is also the part where you will get ink on your fingers.....
Step 4 Mounting the stamp
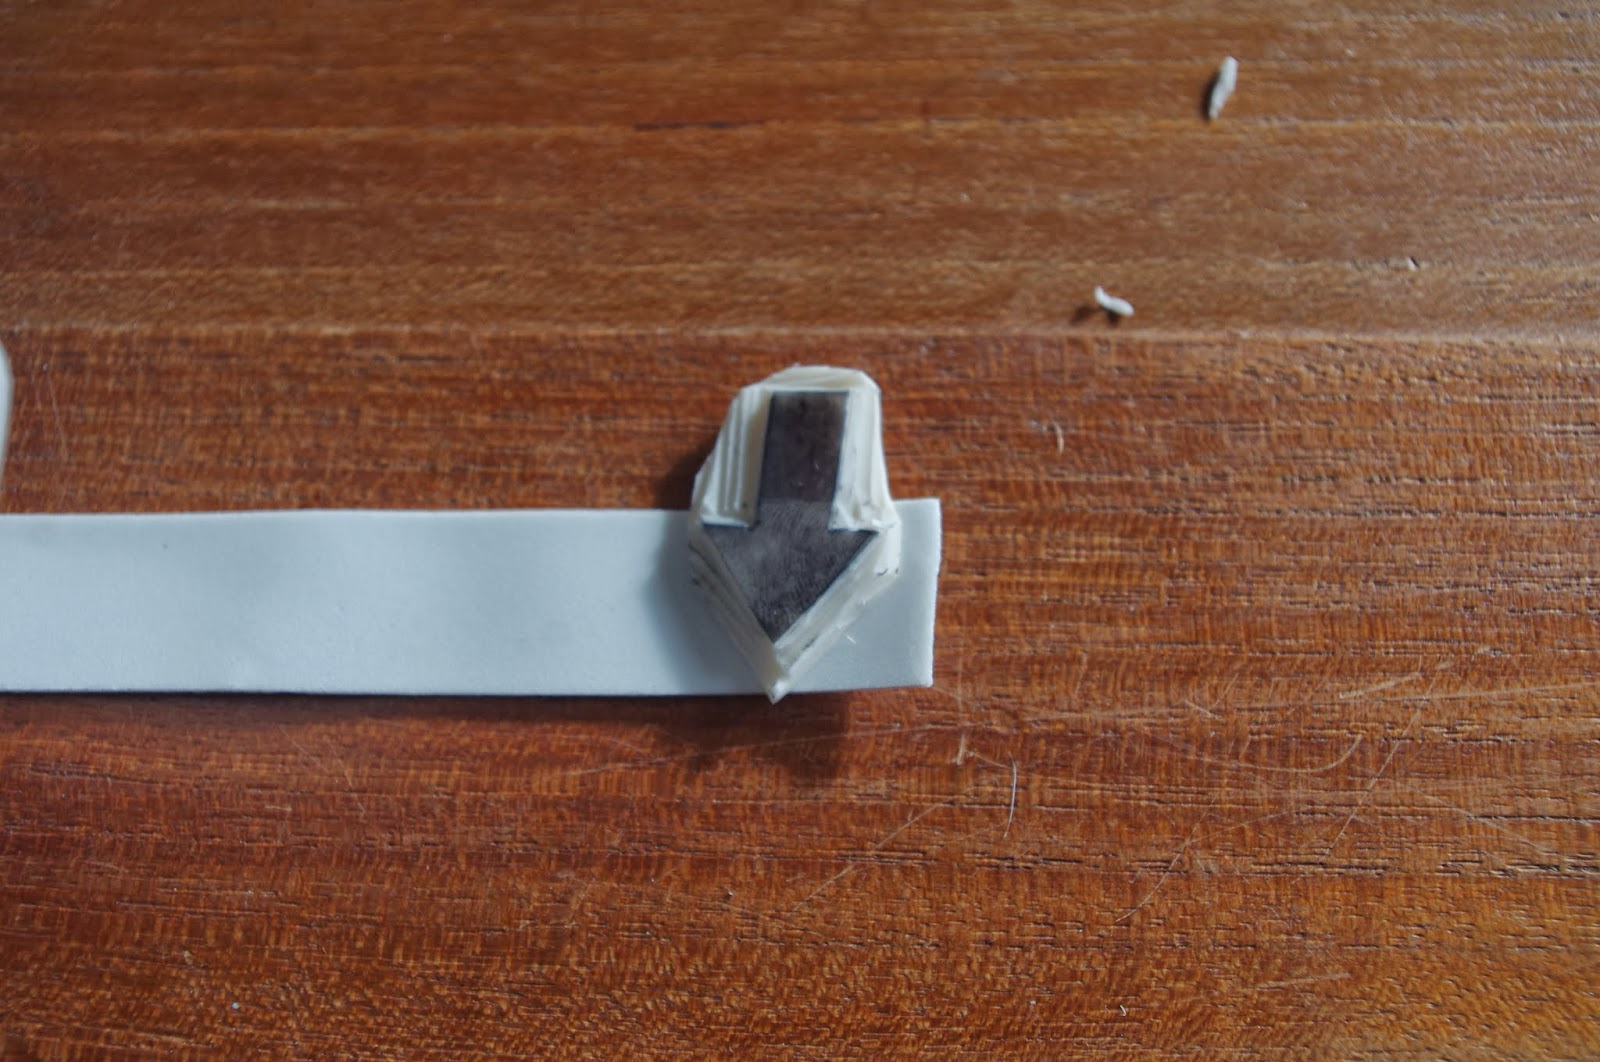
the doulde sided foam tape need to cover the whole of the backside of the stamp. One piece wasn't quite big enough so I had to put 2 halves on it...

This way the whole backside is covered..

Use scissors to trim the edges.

Now; very important; before sticking the stamp to the wood, first make a stamp on the wood. This way you can identify your stamp...

this is a bit fiddely work...

Now when sticking the stamp to the bottom; try and line it up wih the stamp on the top. This makes it easier to use..

And there is is; one hand made arrow stamp.

It is just as easy as it looks.
Give it a try and let me know how it went!
Geen opmerkingen:
Een reactie posten